Numark M1/M1USB/DM950 Innofader Pro Install
Note the below instructions show the Innofader Pro. With the Innofader Pro2, no modifications are required. For the electrical connections please see here.
The Numark M1 and M1USB modifications are definitely doable and require no soldering, wire cutting, or hole drilling. The mixer fit is excellent and very comfortable.
The first step is to remove the cover. Leave the faceplate intact because it'll make the installation a lot easier.
To remove the cover, remove the 3 screws on each side, 2 screws in front, and 1 screw on the bottom. The cover will pop right off. Also remove the crossfader.
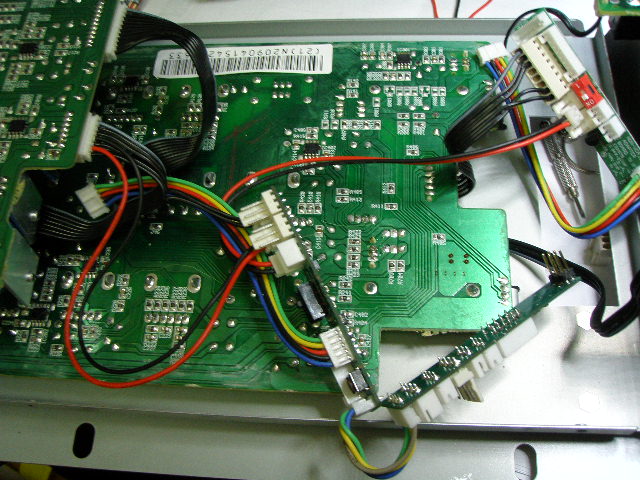
Now you'll need to modify the Numark power cable and integrate it with the smaller 2 wire cable included with the Innofader.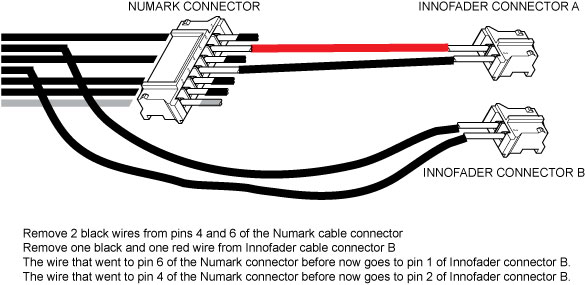
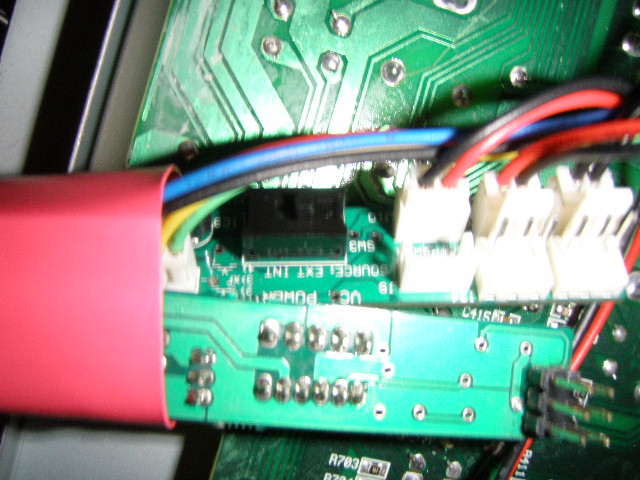
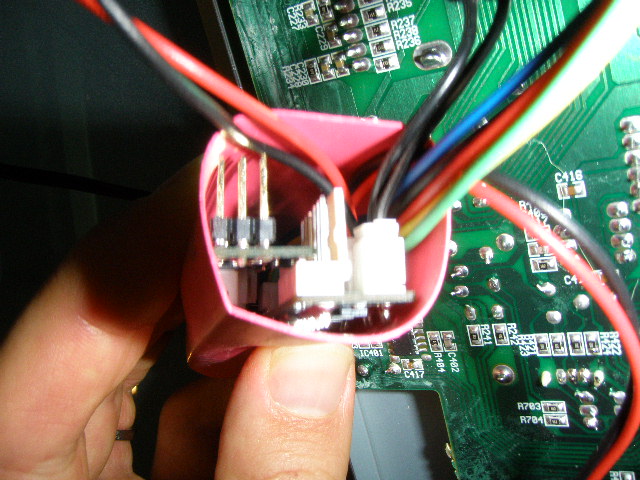
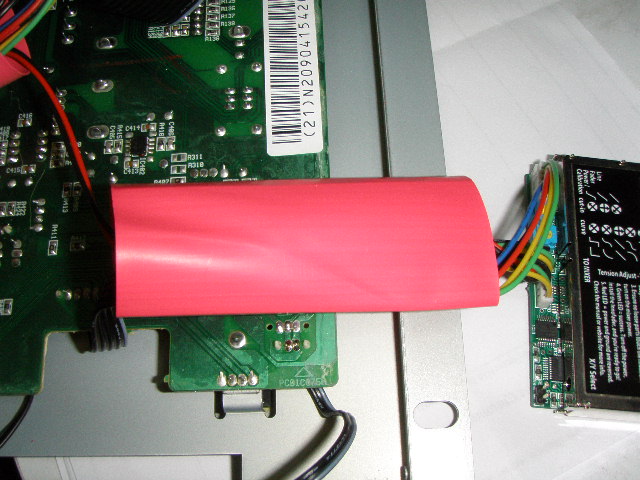
Plug both 2 pin connectors into the VCA adapter board. Also plug in the additional wide 2 wire cable included with the Innofader kit. Set the "SOURCE: EXT INT" switch to "EXT". When everything is plugged in cover everything with the insulator tube. Make sure PC boards don't short out by following the picture.
Find the A&H Xone:22 cable in the Innofader kit and remove the 8 pin connector.
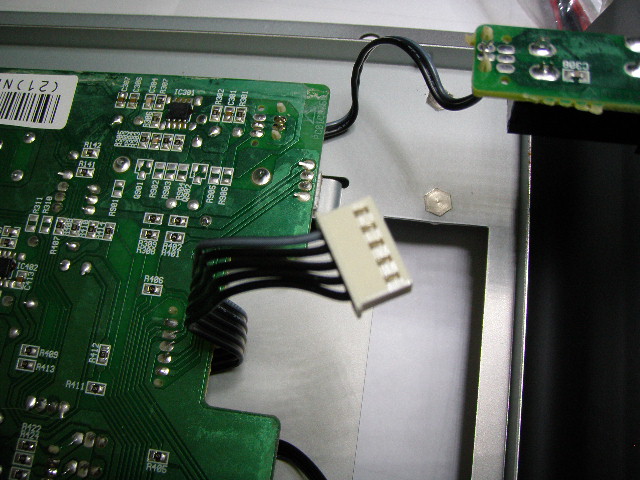
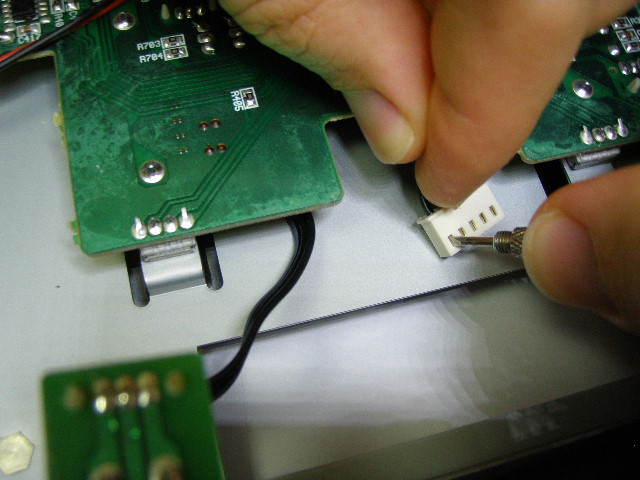
Now you'll need to modify the Numark Crossfader cable. The original looks like this:
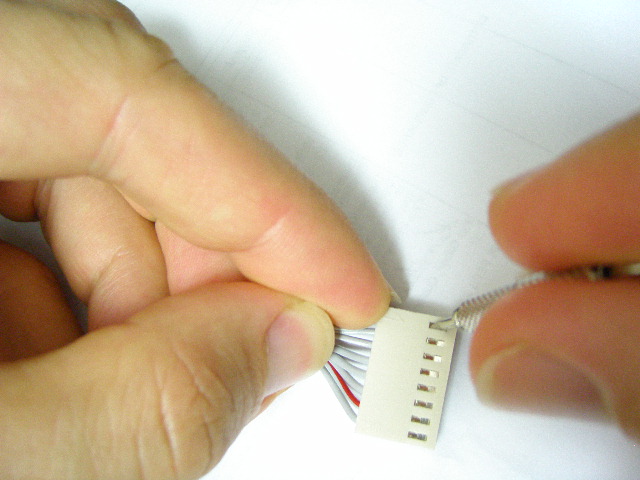
Pull all 5 wires out of this connector.
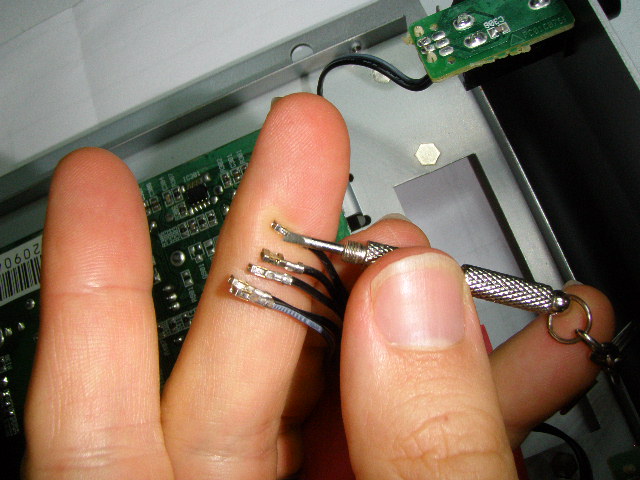
Lift the mini-tabs on the wires up so they can fit securely in the 8 pin connector.
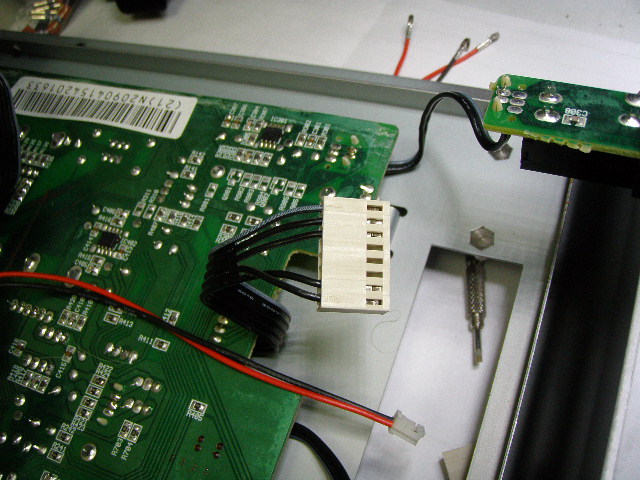
Plug the crossfader wires into the 8 pin connector. The original Numark wires ordered 1, 2, 3, 4, 5 plug into the 8 pin connector slots 1, 2, 3, 8, 7 in that order. Make sure you push the wires all the way into the connector while plugging it in for a good connection.
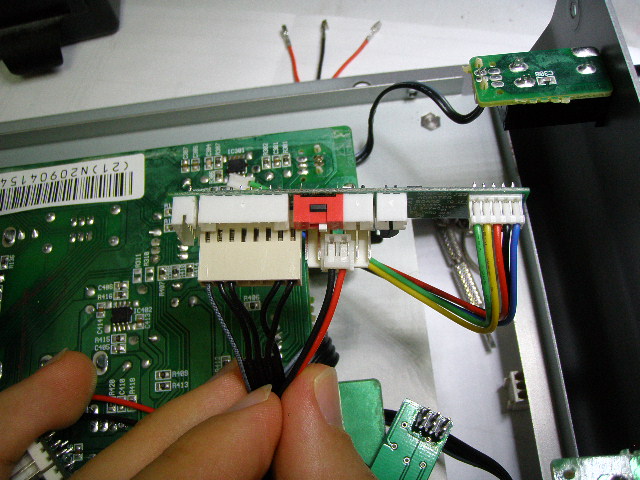
Plug the wide 2 pin connector into the two 3 pin connectors on the Non-VCA Adapter board as shown here. Make sure that the small red switch is in the "ON" position (picture below this one will show this more clearly):
The overall wiring is connected like this. Note this for reference only; when you put the insulator tubes on it will look different.
Make sure the Innofader cables also have an insulator tube. Now you have 2 tubes installed.
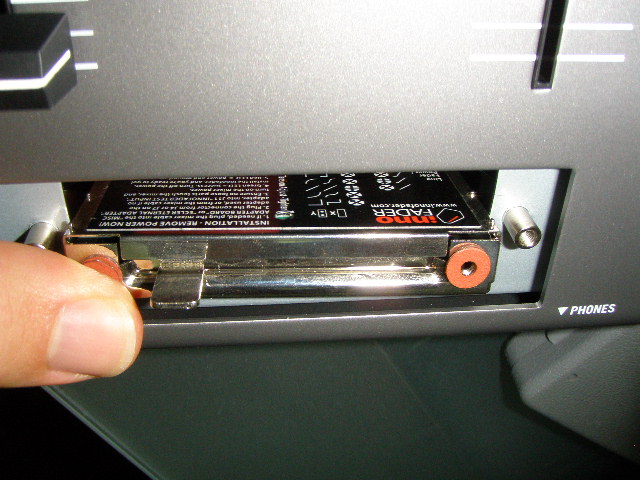
Apply 2 self-adhesive washers to each side of the Innofader and install with the label facing the rear of the unit.
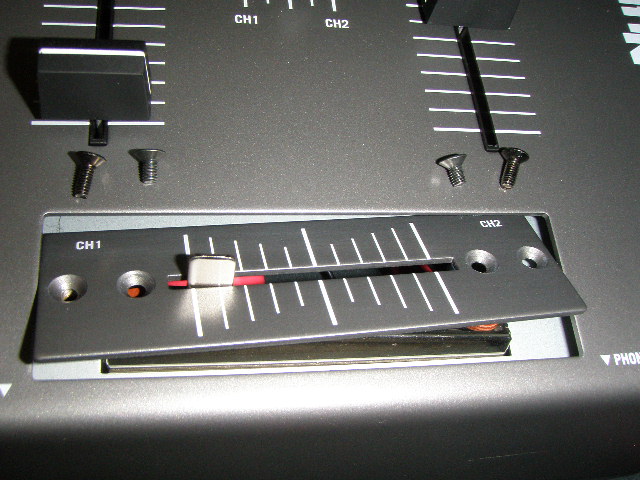
Put the crossfader back on using 6mm screws from the mixer and 8mm screws from the Innofader kit.
Now you're done! ![]()
